Using a Repeater to render a Wordpress Menu - Part 1
by rob
oxygenbuilder, css, js, wordpressEdit: Post was updated on 22/4/2022 to fix the get_menu_item_featured_image function.
OxygenBuilder already has built-in Menu and Pro Menu elements that render existing Wordpress menus that are responsive and customisable – mostly.
This guide will teach you how to build a menu with a repeater and some code snippets.
But why?
You should try this if you…
- … need a list of links that get updated regularly or used in multiple places (like the same menu items in the header, footer, and maybe an off-canvas or modal for mobile).
- … don’t like the styling options available in the native menu element.
- … want to access custom fields (like images/icons) inside menu items.
I got this solution when a client needed a list of brands featured on a store but the brands are rotated from time to time and using WP’s built-in menu is easier than any alternative that I could think of.
OK, Let’s Go!
Note: This guide will assume you are somewhat familiar with the workings of Wordpress and OxygenBuilder.
Step 1 - Create a Menu
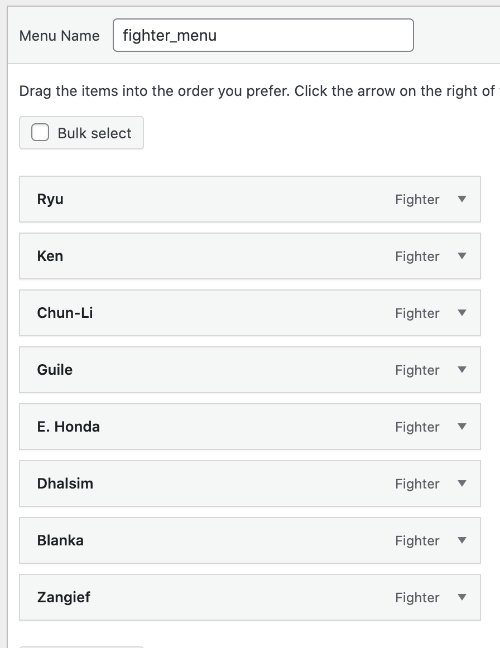 |
|---|
| Make a Menu in Wordpress |
First you have to build a menu using the Wordpress Menu interface under Appearance.
For the sake of this guide, I’ll do it with a Custom Post type but it works with the default post types (post / page) as well.
The Fighter post type is a basic post type with a title, content, and featured image.
I suggest not using spaces in the menu name.
Step 2 - The Query and the Repeater
Now that you have your menu, you will query this in a repeater.
The query you have to run to get a menu is
$args = array(
  'post_type'       => 'nav_menu_item',
  'tax_query'       => array(
                         'taxonomy' => 'nav_menu',
                         'field'    => 'slug',
                         'terms'   => array( 'fighter_menu' )
                       ),
  'orderby'         => 'menu_order',
  'order'           => 'asc',
  'posts_per_page'  => 10
);
I’m pretty sure that’s the syntax in php but you should add it using the Repeater’s Advanced Query so no need to worry about it too much (I didn’t.)
This query is pretty straightforward
nav_menu_itempost type is for the individual items.tax_queryis to fetch the items for the menu specified with the menu name interms.orderandorder_bymakes the results match the order laid out in the menu.posts_per_pageshould just be any number greater than the expected number of menu items. You can add ano_found_rowsis true to make doubly sure it doesn’t paginate but I wouldn’t worry about it.
Step 3 - Helper Functions
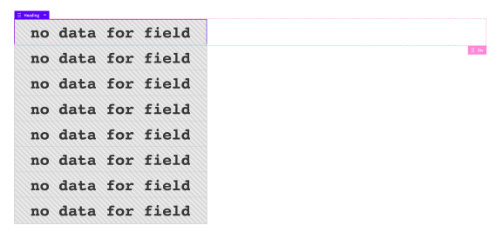 |
|---|
| Can’t just add a dynamic title |
You can’t access fields like post_title like you can with normal posts because nav_menu_item isn’t a normal post.
In order for you to get at the actual information for this nav_menu_item you need to process it with a function named wp_setup_nav_menu_item (api) then you have access to properties like title, url, and most importantly object_id.
So in Code Snippets, or however you prefer to add custom functions, we will create a new snippet and define some functions.
Add the following function for the title:
Get Menu Item Title function
function get_menu_item_title() {
	global $post;
	$menu_item = wp_setup_nav_menu_item( $post );
	if( isset( $menu_item->title ) ) {
		return $menu_item->title;
	} else {
		return 'Menu Title';
	}
}
It’s a function named get_menu_item_title, when run inside the loop it’ll run wp_setup_nav_menu_item on the current $post which gives us access to the title property, which is the name of the menu item entry for the menu.
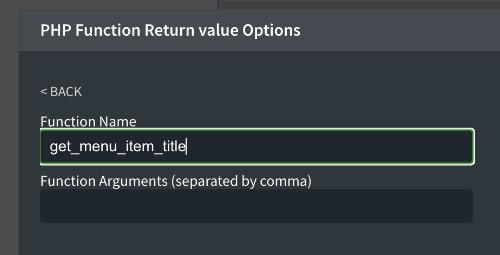 |
|---|
| Use the PHP Function Return Value method |
Then in the repeater, you add the title as Dynamic Data with the function get_menu_item_title in PHP Function Return Value.
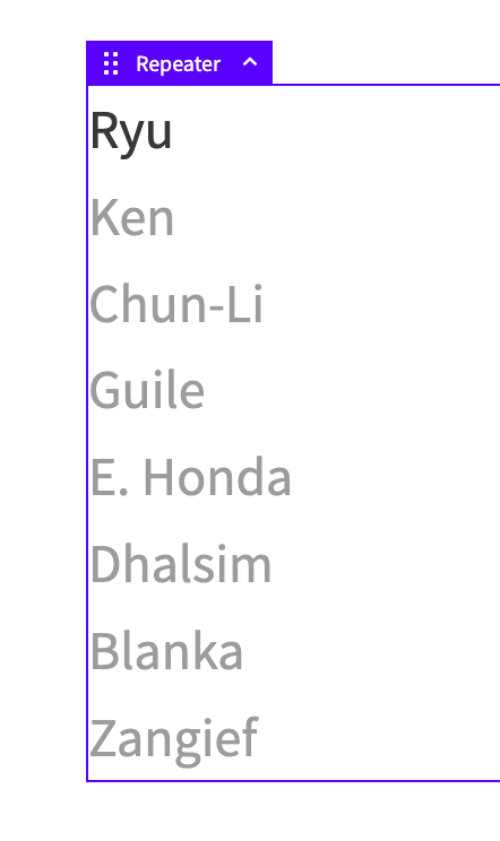 |
|---|
| Menu Titles added |
And there you go, we have our menu from the native Wordpress Menu interface as a repeater. Then you need to add the URL to each item, otherwise it doesn’t do much.
Get Menu Item URL function
function get_menu_item_url() {
	global $post;
	$menu_item = wp_setup_nav_menu_item( $post );
	if( isset( $menu_item->url ) ) {
		return $menu_item->url;
	} else {
		return '#';
	}
}
Now you can use that function to get the url for each menu item dynamically.
So let’s do that, but first I put the heading inside a div then use the div as a Link Wrapper.
Now we have the menu like how it was built, each linking to their Single Fighter pages.
Step 4 - That’s it?
Well, if you wanted a list of links then by all means use the default menu, it generates the mobile menu for you too so why make more work for yourself?
 |
|---|
| Make a Grid Menu |
However, using the repeater gives you more options. Grid layout, different hover effects, are the only 2 I can think of right now.
Oh, and I didn’t get into object_id above. It is the ID of the post for that menu item.
Which means we can use that to access custom fields or featured image of the post.
Get Menu Item Featured Image function
function get_menu_item_featured_image() {
	global $post;
	$menu_item = wp_setup_nav_menu_item( $post );
	$default_url = 'https://placekitten.com/200/200';

  if( isset( $menu_item->object_id ) && has_post_thumbnail( $menu_item->object_id ) ) {
		$thumbnail_id = get_post_thumbnail_id( $menu_item->object_id );
		if( isset( $thumbnail_id ) ) {
			$img_object = wp_get_attachment_image_src( $thumbnail_id, 'thumbnail' );
			if( isset( $img_object ) ) {
				$default_url = $img_object[0];
			}
		}
	}
	return $default_url;
}
This is a bit more convoluted and I’m sure there’s a better way of doing it but I did it this way.
The code itself is straightforward, set up the nav menu item, get the object_id then use that ID to get the Featured Image for that object.
Now with a call to get_menu_item_featured_image you can get that menu item’s featured image and use it as an icon, background image, or whatever you like.
 |
|---|
| Finished Menu with some styling |
With the object_id you can also get any custom fields.
It is good practice to check the post_type of an object before accessing any properties to avoid any unexpected behaviour.
Other Applications
- E-commerce sites commonly list of brands and the last link is “View All” so you can make a menu of the individual brands for each product then have the last menu item be a Custom Link named “View All” that goes to the shop page.
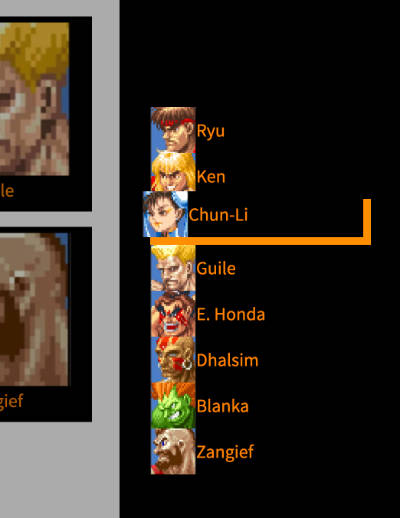
- As mentioned, you can re-use this repeater in different spots, keeping the order of the items but styling them differently.
 |
|---|
| Basically same menu as the grid one except 1 column and flex-row of the contents |
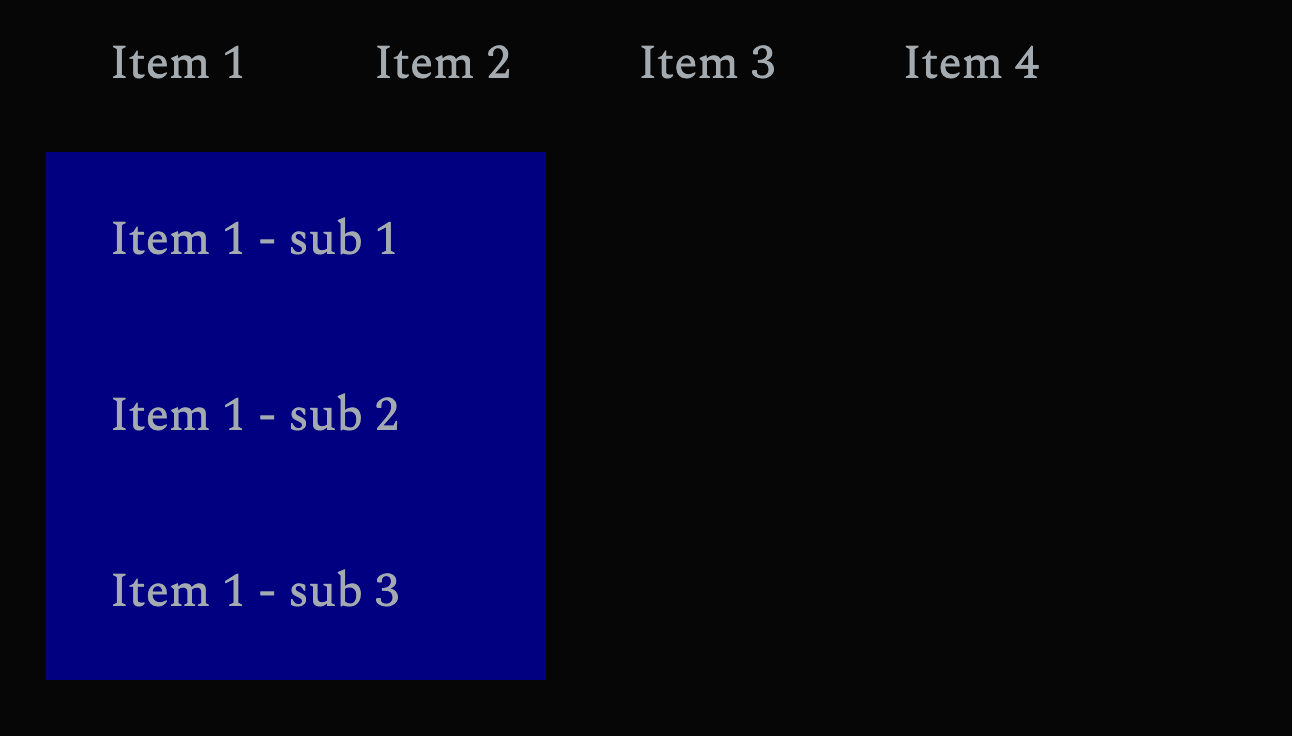
What about multi-level menus?
 |
|---|
| Multi Level Menu |
It’s a bit more complicated and it will come in part 2.
Essentially when the menu is ascending order, the result of the query is in the same order as they are in menu. Therefore they will be in the same order in the repeater. So you need some jQuery to move the items where they need to be after they have all been queried.
If you have any questions you can DM me on twitter @robchankh or leave a comment on FB where I’ll post this.