Using Rewrite Endpoints with Oxygen Builder
by rob
oxygenbuilder, php, js, wordpressHere I’ll show how I use Rewrite Endpoints to show different content based on the endpoint used.
Guide assumes some knowledge of Wordpress and OxygenBuilder
Why
Say you have a Post and you have different types of information (in a custom field or something) but you don’t want to have it all on the same page.
You can split this information out into different endpoints, something like /post-slug/details where /post-slug would general information and the /details would provide more in depth information on that post.
You can also use a different template to present your post based on endpoint. A /print endpoint for a post can load a printer-friendly version of your post without a header/footer/sidebar, or it could have a simpler design.
Example
Here is a demo page I created using the Conditions method demo
I have a custom post type Destination with 3 custom fields About, Sites, and Location.
- About has information about the destination
- Sites is a list of different interesting sites to visit
- Location is the location of the destination.
Normally in Wordpress if you want to see the Destination the url would be domain.com/destinations/DESTINATION_NAME where destinations is the slug for the post type and DESTINATION_TYPE is the slug for that particular destination.
Then I want the about, sites, and location information to be displayed on 3 different pages rather than all on the same one.
So if I want to see the Sites for a place, the url would be domain.com/destinations/DESTINATION_NAME/sites/
So if I want to see the Location for a place, the url would be domain.com/destinations/DESTINATION_NAME/location/
I would leave about as the default url rather than domain.com/destinations/DESTINATION_NAME/about
The Process
There are 2 approaches and the first 2 steps are the same for both.
- Add rewrite endpoints
- Create a PHP function to check what endpoint is being used
Then you can do it 1 of 2 ways.
The Condition Way
Create a template that uses conditions to display content based on the endpoint
The Shortcode way
Create a shortcode that selects the required template based on the endpoint
Which way is better?
The condition way is easier to implement, for this example you’ll have 3 sections (About, Sites, Location) added to 1 template and you set a condition to show the requested content based on the endpoint. This might get a bit messy since you will essentially have all 3 pages inside 1 template.
Shortcode way is not that much more complicated and you can have completely different designs for each page if you want.
Instead of everything in 1 template, we create 3 different templates and use a shortcode to pick the right template. So 1 template will be the default one, and the other 2 will be for the other 2 types of content.
I’ll cover the first way first then the second way.
Let’s Go
Rewrite Endpoints
If you just append a word to the end of a Wordpress permalink (endpoint) and it’s a path that WP doesn’t know how to handle, and you don’t tell it how to handle it, it will go to the 404 page because it can’t find what you’re looking for.
So we need to tell WP how to handle these endpoints.
In your Code Snippets add the following code.
add rewrite function and register hook
function b58_destination_rewrite_add_rewrites() {
    add_rewrite_endpoint( 'sites', EP_PERMALINK );
    add_rewrite_endpoint( 'location', EP_PERMALINK );
}

add_action( 'init', 'b58_destination_rewrite_add_rewrites' );
This tells WP that for Posts, we want to add the endpoints of sites and location, and what type of links these endpoints should be used for. WP documentation
After you add this, go to your WP Settings > Permalinks and hit Save. This tells WP to reload all the permalink settings, and now it will include our 2 endpoints for permalinks.
Which Endpoint?
This function checks the requested URL against the permalink of the post that is loaded, then sees if that word occurs after the permalink. If you use similar words then you may need to think about the order for checking the endpoint.
For example, if you have endpoints cat and catering, you will want to check for catering before cat because cat will be matched to both cat and catering.
Or just find some other way to search for a string then implement it, I used this way because it’s straightforward and my regex skills suck.
Which endpoint function
function b58_which_endpoint() {
	global $wp;
	$queried = get_queried_object();
	$requested_url = home_url( $wp->request );
	$permalink = get_permalink( $queried );

	$default = "about";

	// in case the permalink is shorter than the requested url for some reason.
	// like in the oxy editor
	if( strlen($permalink) > strlen($requested_url) ) {
		return $default;
	}

	if( strpos( $requested_url, 'sites', strlen($permalink) ) ) {
		return "sites";
	} else if( strpos( $requested_url, 'location', strlen($permalink) ) ) {
		return "location";
	} else {
		return $default;
	}
}
The Condition Way
Create a template for your post type and give it a high priority. Add the main template if you like.
Create the default page as you normally would, in our case it is the About page.
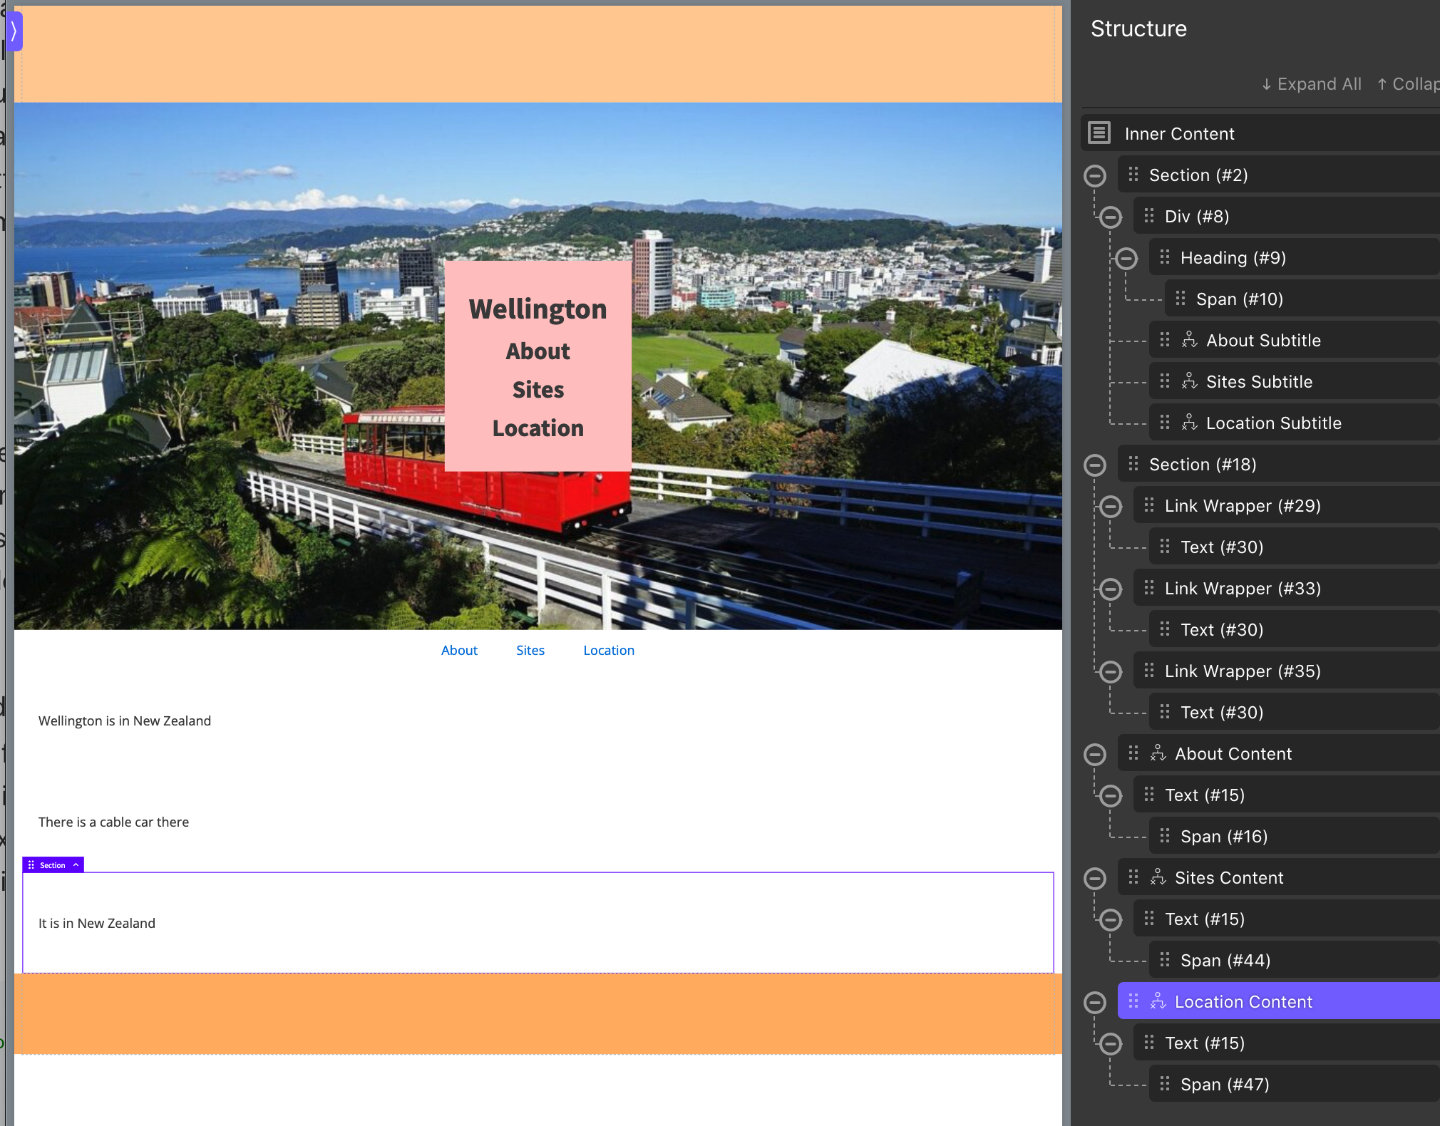
So in this case we have 3 sections, the hero section, a nav section, and the content section.
Hero
The hero section uses the Featured Image as the background image, and has the Title and About subtitle in a div.
Nav
The Nav menu is 3 links, the first link is the Permalink that you can get from Dynamic Data, this is the About page.
The 2nd link is also the Permalink from Dynamic Data with “sites” added to the end, like so: [oxygen data='permalink']sites
This will end up being something like domain.com/destinations/destination-name/sites.
The 3rd link is also the Permalink from Dynamic Data with “location” added to the end, like so: [oxygen data='permalink']location
This will end up being something like domain.com/destinations/destination-name/location.
 |
|---|
| Adding endpoint to dynamic link |
Content
This is a text field with the About Custom Field
If you save it and view the page it will just be the About information, and the links to the sites and location endpoints will work but will be the About page.
The Conditions
Copy the About subtitle twice (so there will be 3 total), and copy the Content section twice (so there are 3 total).
In the About subtitle, go to the Condition Settings and make it show only when PHP function return value for b58_which_endpoint equals “about”.
In the Sites subtitle, go to the Condition Settings and make it show only when PHP function return value for b58_which_endpoint equals “sites”.
In the Location subtitle, go to the Condition Settings and make it show only when PHP function return value for b58_which_endpoint equals “location”.
Do you sense a pattern?
Do the same thing with the content sections, with changing each section’s content to match the corresponding ACF field.
Now view the page, the nav links work, /sites will load the Sites subtitle and content, /location will load the Location subtitle and content.
 |
|---|
| Condition Template Layout |
The Shortcode way
With the Condition Way you could conceivably build the entire thing in 1 single template, it can be messy if you don’t plan it out.
With Shortcodes, we move the conditional logic to a shortcode rather than the template.
The shortcode will load the template for the corresponding endpoint. So you can have wildly different templates based on the endpoint used whereas the Conditions Way kind of restricts you to keeping the design similar across the 3 types of content.
And this is the same process as the guide for Replicating the default Wordpress /embed post feature link minus the JS parts.
The Templates
Create a template for the About page, Sites page, and Location page. Give them all priority 0, and all Singular type for the Custom Post Type.
They should not inherit from a main template either, because we’re going to load them in kind of a “parent” template that will inheri the main template.
I recommend using Re-usable parts for some parts because you may repeat some content/menus/etc across all 3 templates.
Add a fourth template, for that custom post type. This is the parent template so inherit the main template if required, and set the priority higher than the other 3. This template will hold the shortcode that we create below.
You can edit the parent template and add a nav menu that links to the different posts or whatever. This parent template will be like the “main template” that people inherit to add headers/footers to their site, and the shortcode will be the equivalent of the “Inner Content” for the that parent template.
 |
|---|
| Parent Template Layout |
The PHP
This method takes an Oxygen template ID and renders HTML for that template.
There could be more type checking to add, like to see if it’s actually an oxygen template before rendering, or error handling, but for the purposes of this tutorial it will be assumed to always be a valid Oxygen template.
b58_load_template_by_id function
function b58_load_template_by_id( $template_id ) {
	$result = "";

	if( function_exists( 'do_oxygen_elements') ) {
		// get shortcodes with 4.0
		$json = oxygen_get_combined_tree( $template_id, true );
		global $oxygen_doing_oxygen_elements;
		$oxygen_doing_oxygen_elements = true;
		$result = do_oxygen_elements($json);
	} else {
		// get shortcodes with 3.x
		$tree = array();
		global $ct_template_id;
		$ct_template_id = $template_id;
		$oxygen_vsb_css_files_to_load[] = get_the_ID();
		$oxygen_vsb_css_files_to_load[] = $template_id;
		$combinedCodes = oxygen_get_combined_shortcodes($template_id);
		$tree['children'] = $combinedCodes['content'];
		$shortcodes_json = json_encode($tree);
		$shortcodes = components_json_to_shortcodes($shortcodes_json);
		$result = do_shortcode( $shortcodes );
	}

	return $result;
}
The Shortcode
 |
|---|
| Oxygen Template ID |
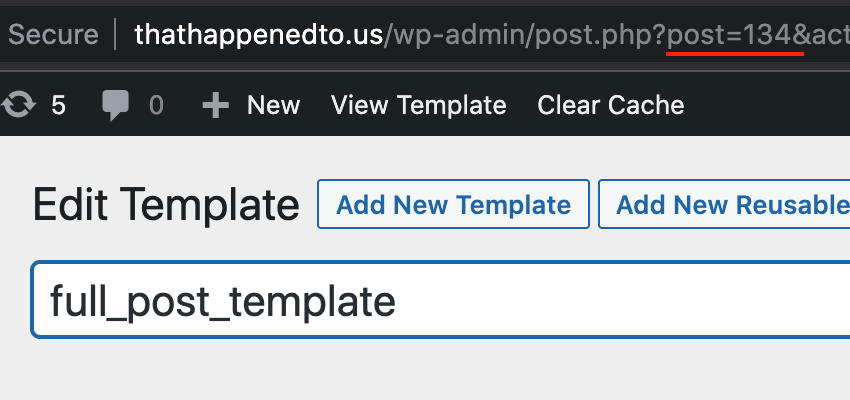
$template_id corresponds to the template id of the different templates.
b58-get-destination-template shortcode
function b58_get_destination_template() {
	$template_id = 286; // default one

	$queried = get_queried_object();
	if( get_class( $queried ) === 'WP_Post' ) {
		if( b58_which_endpoint() == "sites" ) {
			$template_id = 290;
		} else if( b58_which_endpoint() == "location" ) {
			$template_id = 287;
		} else {
			$template_id = 286;
		}
	}

	$result = b58_load_template_by_id( $template_id );
	return $result;
}

add_shortcode( 'b58-get-destination-template', 'b58_get_destination_template' );
The Parent template
Go back to the parent template and add the [b58-get-destination-template] shortcode where you want the content to be.
Now the content will load in the shortcode based on the endpoint in the URL.
Javascript
You might notice that the page title for the page doesn’t change from endpoint to endpoint using either method.
For SEO and UX purposes you may want to update the title based on which page you’re looking at, and the above does not address it so lets address it.
We’ll implement a simple script that sets a custom title based on the endpoint that we’re on.
Place the code in a PHP/HTML Code Block on template for the post type, either the condition one or the parent one. It capitalises the endpoint string (about becomes About) and prepends it to the original post title.
JS to update page title based on endpoint
<?php
$endpoint = b58_which_endpoint();
?>
<script>
	document.addEventListener("DOMContentLoaded", () => {
		let endpoint = "<?php echo $endpoint; ?>"
		if(endpoint) {
			if(endpoint.length > 2) {
				endpoint = endpoint[0].toUpperCase() + endpoint.substr(1)
			} else {
				endpoint = endpoint.toUpperCase()
			}
			document.title = endpoint + " - " + document.title
		}
	});
</script>
Notes
What if you add that endpoint to other posts?
If you haven’t implemented other templates or conditions for that endpoint then nothing will happen, it will just load the regular content rather than 404.
Does this code work?
At the publishing of this post, this guide works. This guide makes use of some undocumented Oxygen functions whose behaviour may change in a future release.
Conclusion
If you have any questions you can DM me on twitter @robchankh or leave a comment on FB where I’ll post this.